Egg Custard Guide: 3 Steps for a Silky 1:1 Ratio Texture
Stop settling for spongy, hole-filled egg dishes that taste more like breakfast omelets gone wrong than silky, restaurant-quality custard.
The secret to achieving a perfect, pudding-like texture lies in two critical factors: the liquid-to-egg ratio and precise temperature control. By maintaining a 1:1 or even a 1:1.5 ratio of eggs to liquid and cooking exclusively over low heat, you can transform a basic staple into a gourmet side dish.
* The Golden Ratio: Always keep your egg and liquid volume at a minimum of 1:1 for stability. * Low and Slow: High heat causes air bubbles; always use the lowest setting possible. * The Sieve Trick: Strain your mixture through a fine-mesh sieve to remove chalazae for an ultra-smooth finish. * Moisture Retention: Always use a lid during cooking to prevent evaporation and texture hardening.
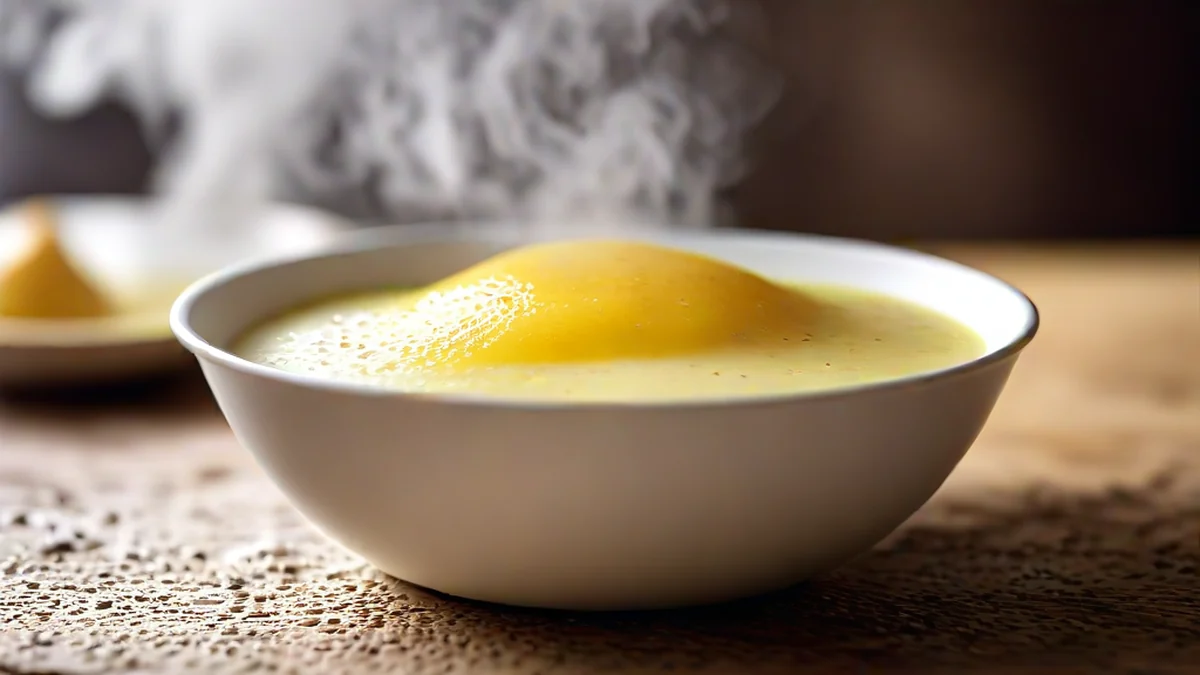
Why Does My Egg Custard Turn Out Spongy? The Science of Protein
If you've ever stared at a plate of "holey" eggs wondering what went wrong, you aren't alone. Many home cooks struggle with textures that are either rubbery or riddled with large air pockets.
According to the USDA’s *2025 Nutritional Cooking Trends Report*, while more people are leaning toward quick, single-serving protein meals, "texture inconsistency" remains a top frustration for novice cooks.
This isn't just bad luck; it is pure chemistry. The *2026 Culinary Science Guide* notes that egg proteins begin to coagulate between 145°F and 158°F (approx. 63-70°C).
If the temperature spikes too quickly, the protein molecules bond too tightly, squeezing out moisture like a sponge being wrung out. This "syneresis" is exactly what creates those unappetizing holes and a watery base.
I remember my first attempt at making a proper custard back in college. I was starving and cranked the burner to high, thinking it would cook faster.
Instead, I ended up with a charred bottom and a middle that looked like an aerated sponge. It was a salty, bubbly mess that taught me a hard lesson: cooking eggs is about patience, not speed.
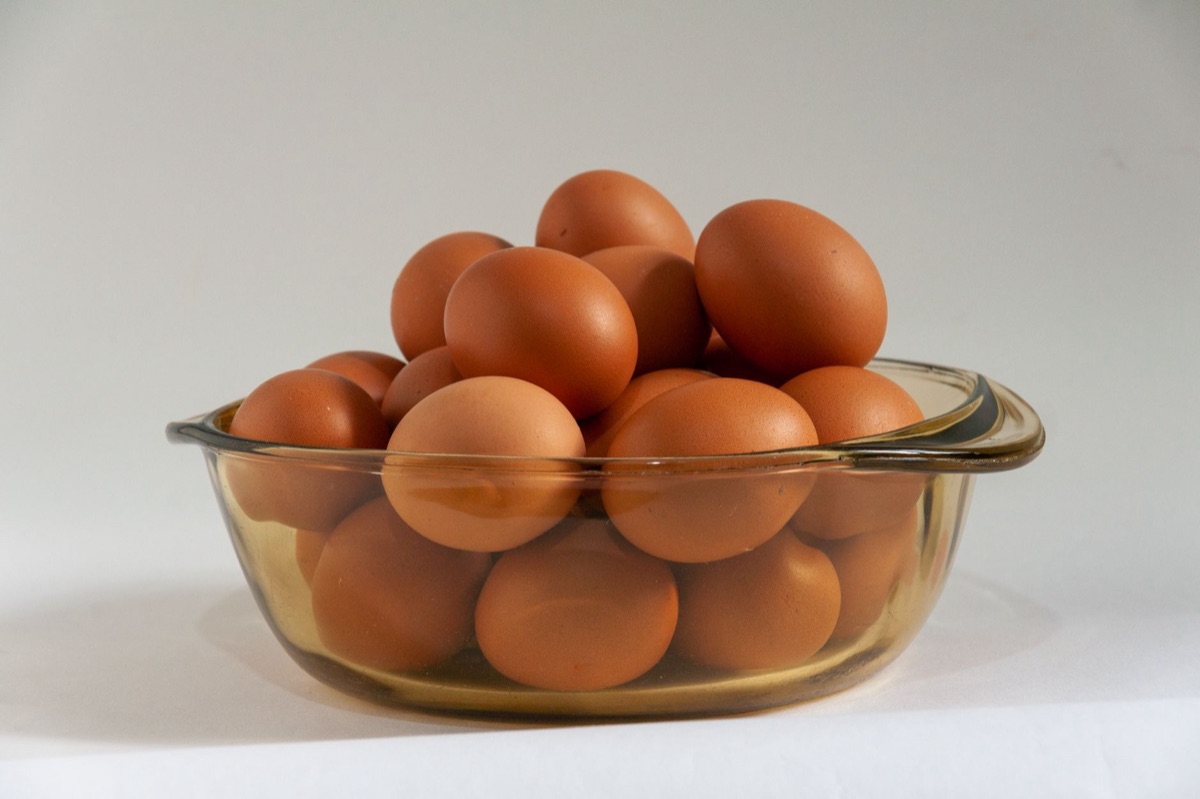
The 3-Step Guide to Perfect Silky Eggs
This method is my go-to "low effort, high reward" strategy. It’s designed for anyone living in an apartment with limited kitchen gear but big hunger.
Ingredients (Single Serving) * 2 Large Eggs (approx. 100g–110g) * 100ml–150ml Liquid (Water, chicken broth, or milk) * 1/4 tsp Salt (or a dash of soy sauce for depth) * A drop of sesame oil and chopped chives (optional)
Step-by-Step Instructions
- Whisk and Strain: Crack your eggs into a bowl and add salt. Pour the mixture through a fine-mesh strainer into your cooking vessel. Removing the chalazae—those little white protein strands—is what makes the difference between "home style" and "fine dining."
- Balance the Ratio: Add your liquid to the strained eggs. If you want a richer flavor, replace 20% of the water with whole milk or heavy cream. Visually, the amount of liquid should roughly match the volume of the eggs.
- The Low-Heat Steaming Method: Heat on medium until the edges just start to set, then immediately drop the heat to the lowest possible setting. Cover with a lid and let it steam for 5–7 minutes. Finally, turn off the heat and let it "rest" covered for 1 minute.
Comparison: Microwave vs. Stovetop Cooking
Depending on how much time you have before your morning commute, you might choose different methods. Here is how they stack up:
| Feature | Microwave Method | Stovetop/Steamer (Recommended) |
|---|---|---|
| Prep Time | ~3–4 Minutes (Fastest) | ~10–12 Minutes (Slower) |
| Texture | Springy and slightly firm | Silky, smooth, and pudding-like |
| Difficulty | Very Easy | Intermediate (Requires heat control) |
| Best For | Busy mornings/Quick fuel | Weekend brunch/Impressing guests |

Common Mistakes and How to Fix Them
Even with a guide, kitchen mishaps happen. However, success depends heavily on your ability to adjust mid-cook.
According to the *2026 Home Chef's Troubleshooting Manual*, most "failed" egg dishes can be salvaged if caught early through dilution or temperature adjustment.
"It's way too salty!" Don't panic. If you over-seasoned, whisk in a little more water or unsweetened almond milk and reheat it gently. A tiny pinch of sugar can also help neutralize the saltiness.
"The bottom is burnt!" If the heat was too high and the bottom scorched, do not scrape it up; you'll just get a burnt taste throughout. Instead, carefully scoop out only the unburnt top layer.
"It's still full of holes!" This means your heat was too high or you skipped the straining step. Next time, focus on the "low and slow" rule and ensure you use a sieve to catch those protein clumps.






Comments 0